Many designers overlook one of the best features of Sketch: prototyping.
Prototyping in Sketch is a quick, in-app alternative to tools like InVision, Marvel, and Adobe XD. And if you already own Sketch, it’s free.
Here’s a quick guide to building your first Sketch prototype in just 5 minutes.
Pick a Start Point
The first step to creating a prototype in Sketch is picking a Start Point, the Artboard your prototype will start on.
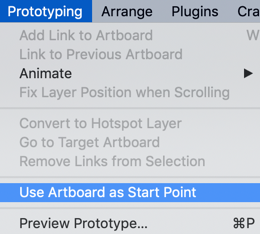
To pick a Start Point, select an Artboard, click the Prototyping menu, and select “Use Artboard as Start Point.”
A flag icon will appear next to your Artboard’s name in the canvas, and when you preview your prototype, it will begin on this Artboard.
Add Links or Hotspots
Now that your prototype has a start point, it’s time to add some interaction.
Sketch offers two ways to move around your prototype: Links and Hotspots.
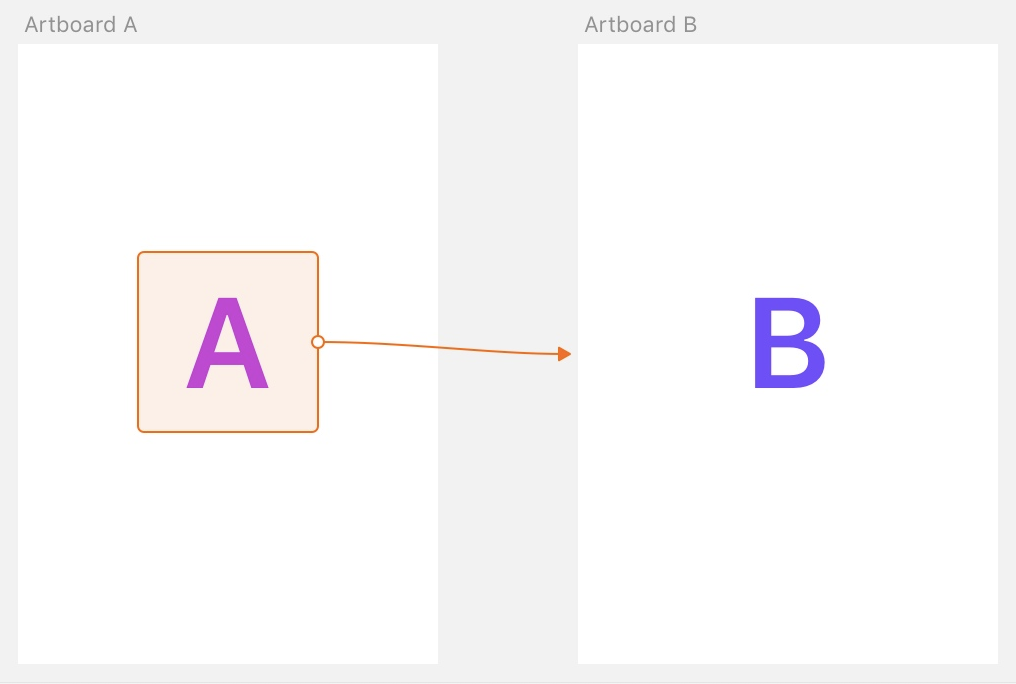
Links are simply layers in your existing design that connect their parent Artboard to another Artboard you define.
To create a link, select any layer and press the “W” key. You’ll notice an orange arrow from your layer that will follow your cursor around. Click on another Artboard to set it as the target for your link.
Hotspots work like links, but allow you to define a clickable area that’s larger than the layer. For example, if you want to create a clickable icon with a tap area larger than the icon itself, you could use a Hotspot.
To add a hotspot, hit “H” or select the Insert menu and click on the “Hotspot” menu item. Then simply draw the Hotspot with your mouse.
Preview & Share Your Prototype
Once you’ve linked all your screens together, it’s time to preview and share your prototype.
To preview your prototype on your computer, simply hit “CMD+P”.
By default, the preview window will be the same size as the Start Point Artboard you selected previously, but you can resize the preview window as needed.
Once you’re satisfied with your prototype, you have two options to share it.
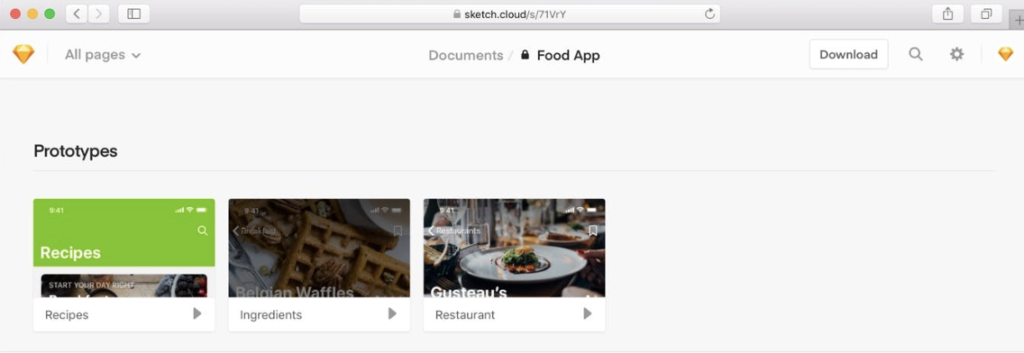
Sketch Cloud is a free service that comes with Sketch where designers can share designs and prototypes with their teams. To upload your prototype, click the Sketch Cloud icon and follow the prompts. Anyone you share your link with will be able to access and interact with your prototype.
Alternatively, you can use the free Sketch Mirror app to preview prototypes on your phone.
Sketch Prototyping Tricks
Want to get the most out of your sketch prototype?
Try these 2 tricks:
#1 – Change Animations
By default, when you click a link or Hotspot, the new artboard will slide in from the left on top of the previous Artboard.
You can change this by selecting the Link or Hotspot and choosing a new animation in the Inspector.
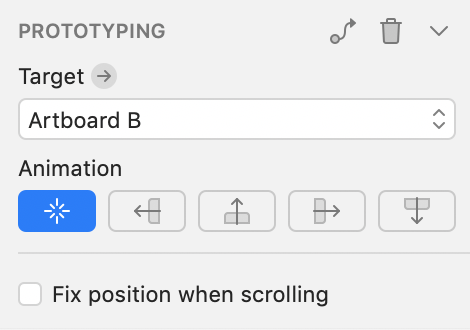
#2 – Use Fixed Layers
If you’re prototyping an app or webpage, your content may be longer than the screen. You may want to keep a layer, such as a navbar, fixed to the top of the screen while the rest of the content scrolls.
To do this, simply select the layer and check the “Fix position when scrolling” box in the Inspector.
Beyond Sketch Prototyping
Sketch prototyping is a quick and dirty way to mock up an app or website, but for more advanced prototypes, you’ll need a better tool.
For more complex interactions and animations, check out Framer, Marvel, and InVision.
Want More? This article is part of the UX Engineer Playbook series.